expo-IP CMS Benutzerhandbuch
Für die Nutzung des expo-IP CMS benötigen Sie einen beliebigen aktuellen Browser, der fehlerfrei den aktuellen HTML5 Standard unterstützt. Hierzu zählt NICHT der Browser: Microsoft INTERNET EXPLORER.Messe Grundeinstellungen
- Cookies der expo-IP
- Medienformate
- Einführung für Veranstalter
- Settings
- Eingang
- Favicon setzen
- Texte
- Cookies Consent
- Datenschutzeinstellungen
- Menü erstellen
- Halle anlegen
- Stand erstellen
- Benutzer / Aussteller
- PreviewLink
- Registrierungsformular
- CustomFields
- Registrierungsprozess
- Broadcast nutzen
- Messenger nutzen
- 123.chat aktivieren
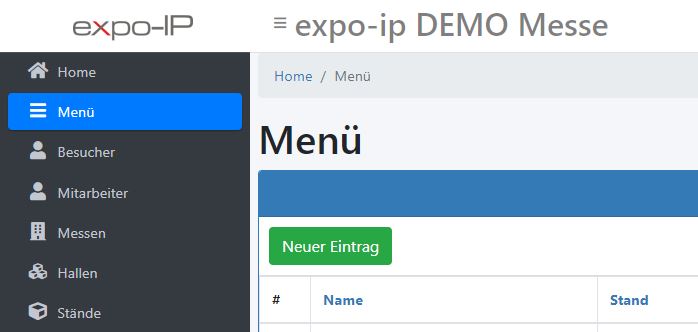
Menü Erstellen
Neben der Navigation über die Widgets, kann eine einfache Navigation über ein Menü geschaffen werden. Im folgenden Beispiel wurden fünf Menüpunkte konfiguriert:
- Startseite (HOME) der Veranstaltung
- Link zu einem Stand (LOBBY)
- Link zu einer Halle (EXHIBITION)
- Link zu einer Halle (SHOWROOMS)
- Link zu einem Stand (STAGE)
- Link zu einem Stand (EXPO)
- Link zu einer externen Seite, der auch bei geschlossener Messe angezeigt und von Besuchern klickbar sein soll (NETWORKING AREA)
- Link zu einem Stand (MESSELEITUNG)

Deutsch

Englisch
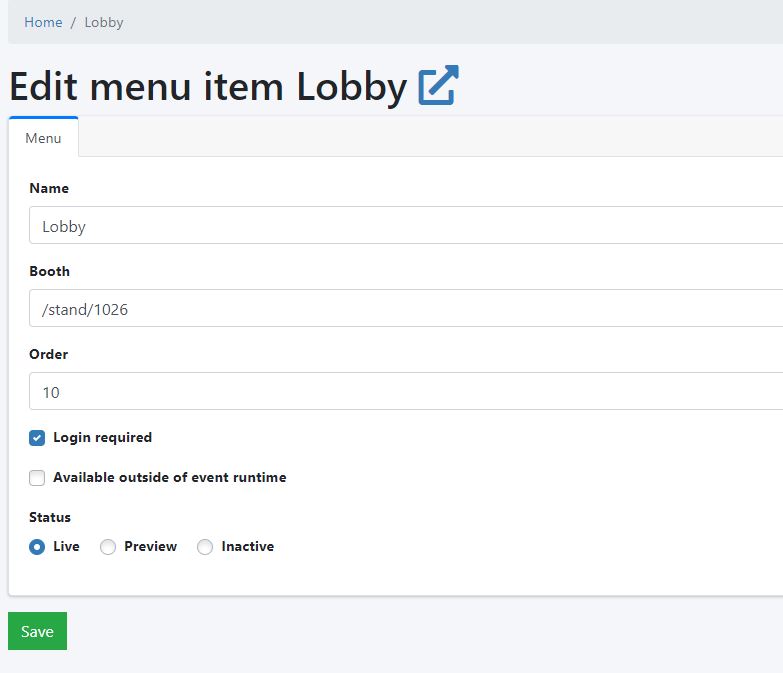
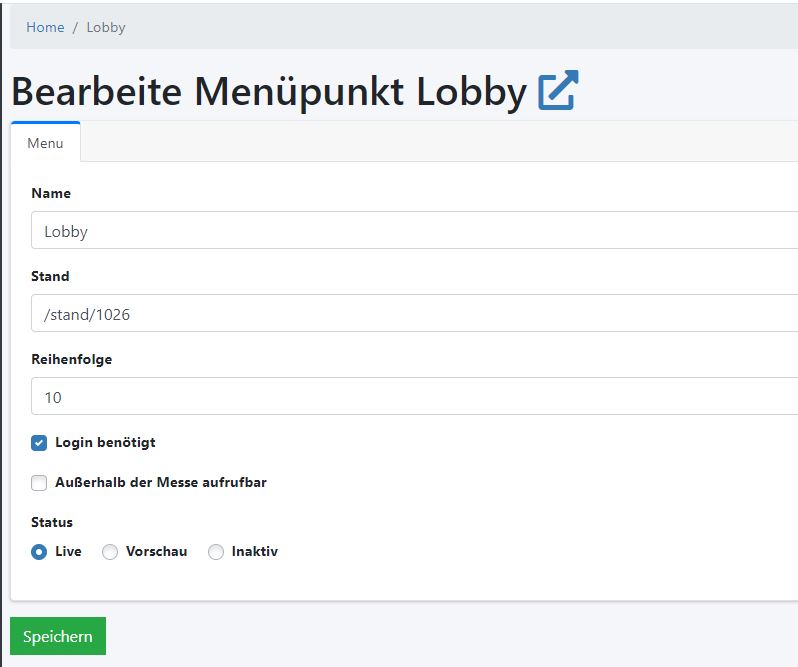
Menü-Eintrag
Ein Menü-Eintrag wird über eine Eingabemaske definiert. Der Inhalt des Feldes „Name“ wird in GROSSBUCHSTABEN als Menüpunkt angezeigt. In das Feld „Stand“ wird die URL eingetragen, zu welcher der Menüpunkt verlinken soll. Wenn eine internes Ziel angesteuert werden soll, besteht der Link aus folgenden Eingaben:
- Für einen Stand: /stand/STANDID – Beispiel: /stand/1026
- Für eine Halle: /messehalle/HallenID – Beispiel: /messehalle/1
- Für die Startseite: /
Soll eine externe Adresse verlinkt werden, wird die vollständige URL eingetragen – Beispiel: https://www.dimarex.de/
Menü-Einträge werden manuell nummeriert. So kann die Reihenfolge der Menüpunkte gestaltet werden. Die Menüpunkte werden in der Nummerierung aufsteigend dargestellt, sofern ihr Status auf „Live“ gesetzt ist.
Deutsch